
During the early days of the COVID shutdown, Steve and I formulated a perhaps insane plan to attempt a trek to the top of Half Dome, the famous, but formidable, granite monument in Yosemite National Park. Even if we didn’t accomplish our goal, working toward it would be an engaging project during a time when socializing and movies were not options. The first step was to enter the lottery for a coveted wilderness permit required for access to the dome. Over 20,000 people apply each day for the limited number of permits available. We felt like the luckiest COVID shut-ins when we were two of the 250 hikers granted the right to try to climb the edifice on June 9, 2021.

We devoted the next several months to conditioning and planning. The hike is 16 miles long, out and back, with an elevation gain of almost 5,000’. Most people make the trip in one very long day, either beginning or ending in the dark with the help of headlamps, but we were intimidated by that approach and so planned to cover the distance in two days. However, the tradeoff was we’d need to carry all the gear for camping overnight—not only food for two days on the trail, and larger packs, but also tent, sleeping bags, camp stove, water purifier, camelbacks filled with water, and sturdy gloves for grabbing the metal cables that make the final ascent possible. The list grew longer every time we thought about the trip because, after all, there is no store in the backcountry for forgotten necessities.
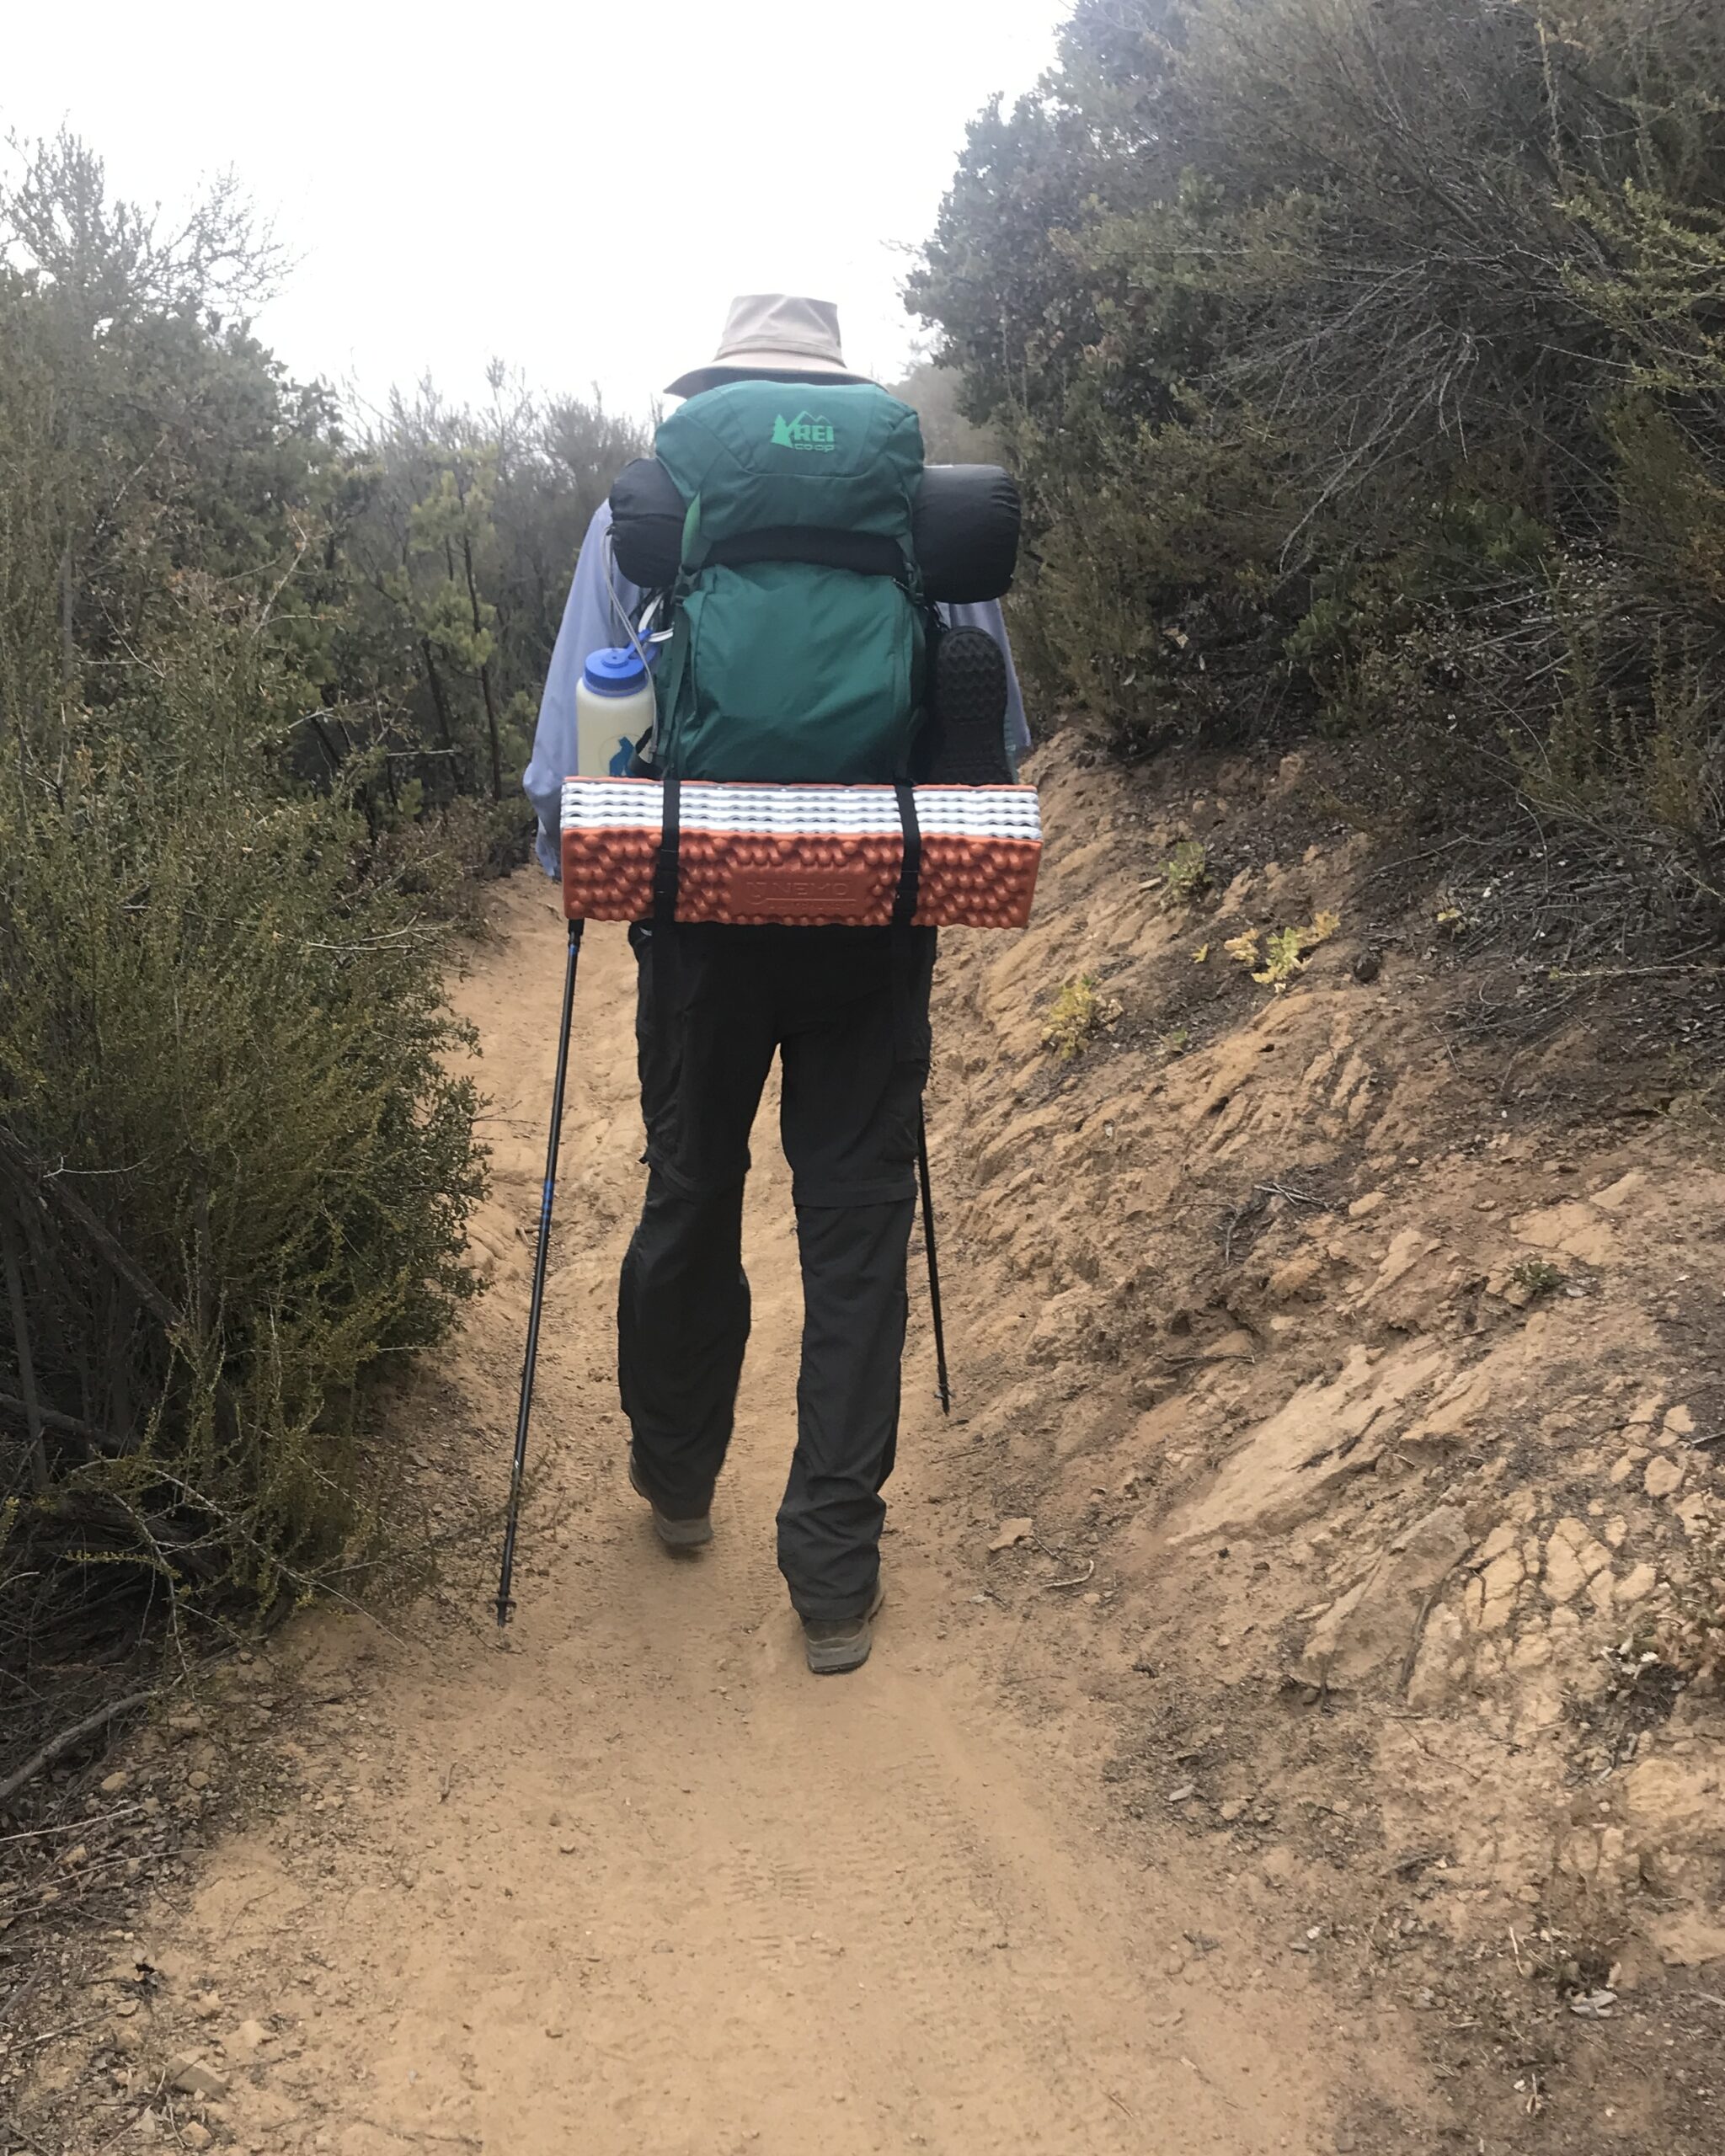
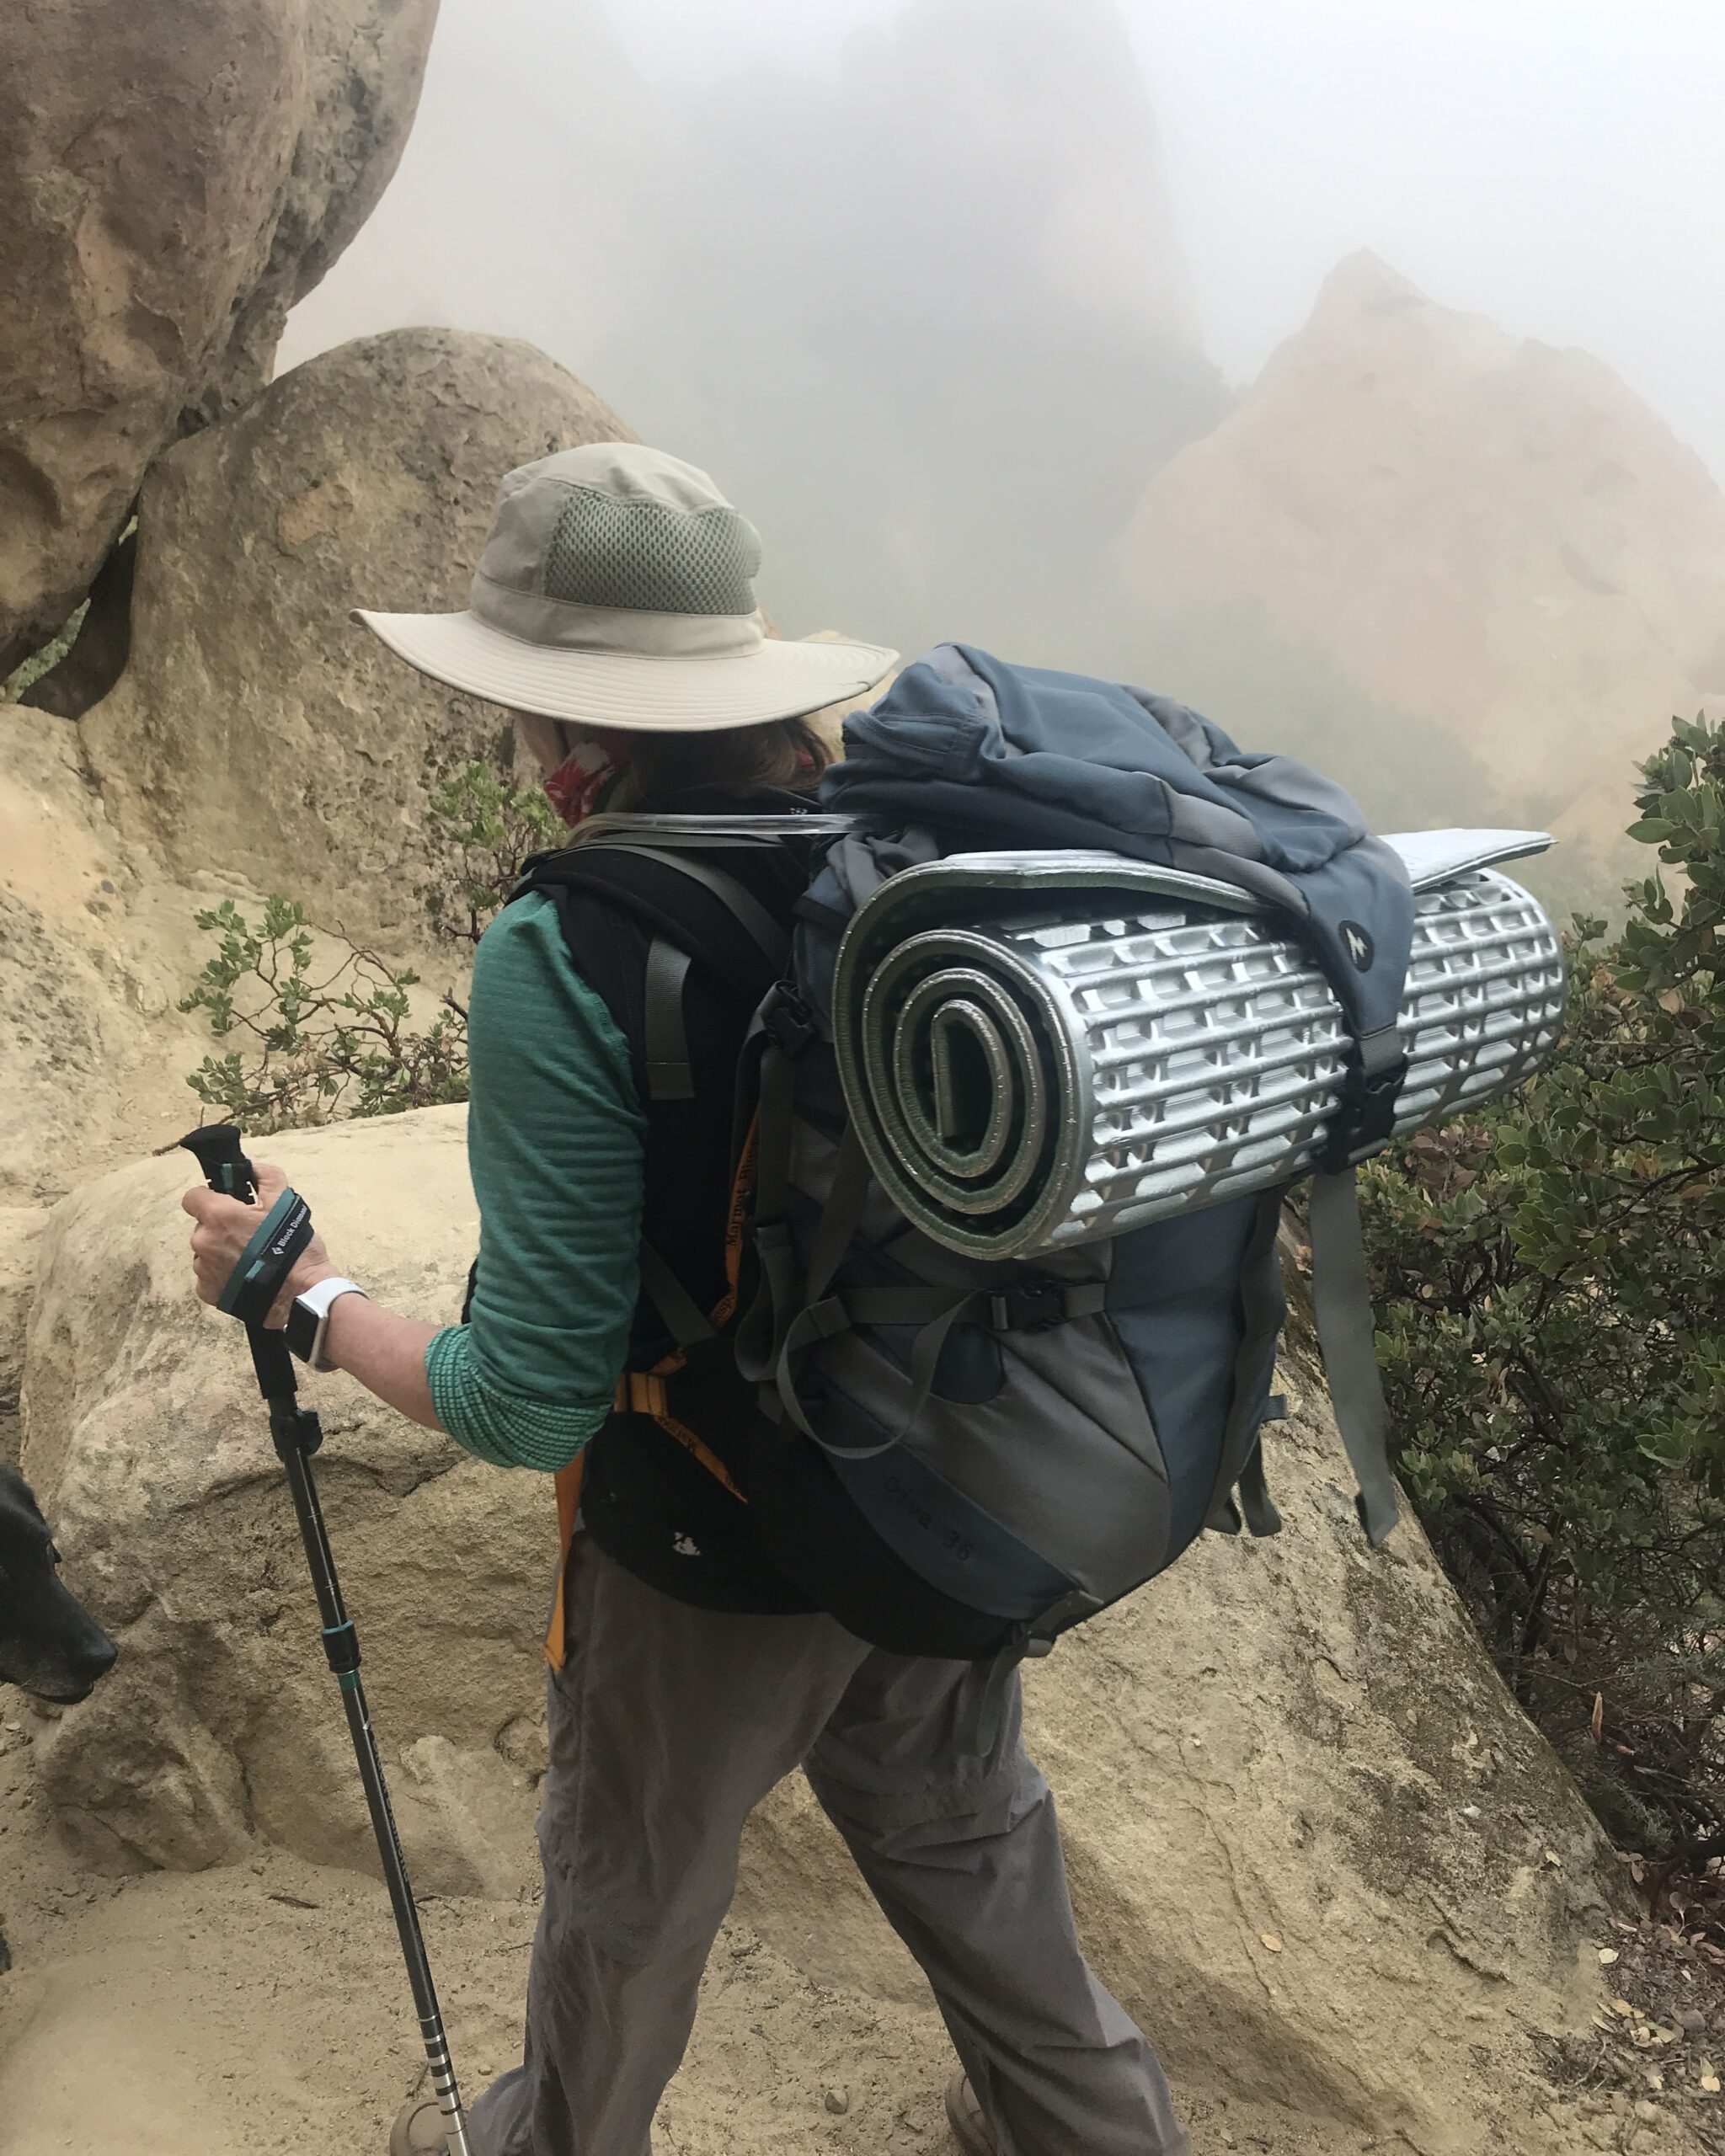
As we acquired more and more camping equipment, we increased the intensity and focus of our workouts, eventually hiking with fully loaded packs, to develop enough strength to carry the weight for the full distance, and then haul ourselves up the final 400’ bare granite wall leading to the summit.
Being someone who is preoccupied with food, I happily launched into meal planning. In consideration of the weight we’d have on our backs, Steve talked me into bringing a freeze-dried meal for dinner to save at least a pound, and on a trip where every ounce would be crucial, 16 ounces less is appealing enough to outweigh the mediocrity of the taste. We would bring trail mix, a lavish number of chocolate bars, and homemade Chocolate, Cherry and Nut Adventure Cookies for energy-filled snacks (look for the cookie recipe soon in the Half Dome II post). Granola for breakfast. And then sandwiches on my Super Gluten-Free Bread.
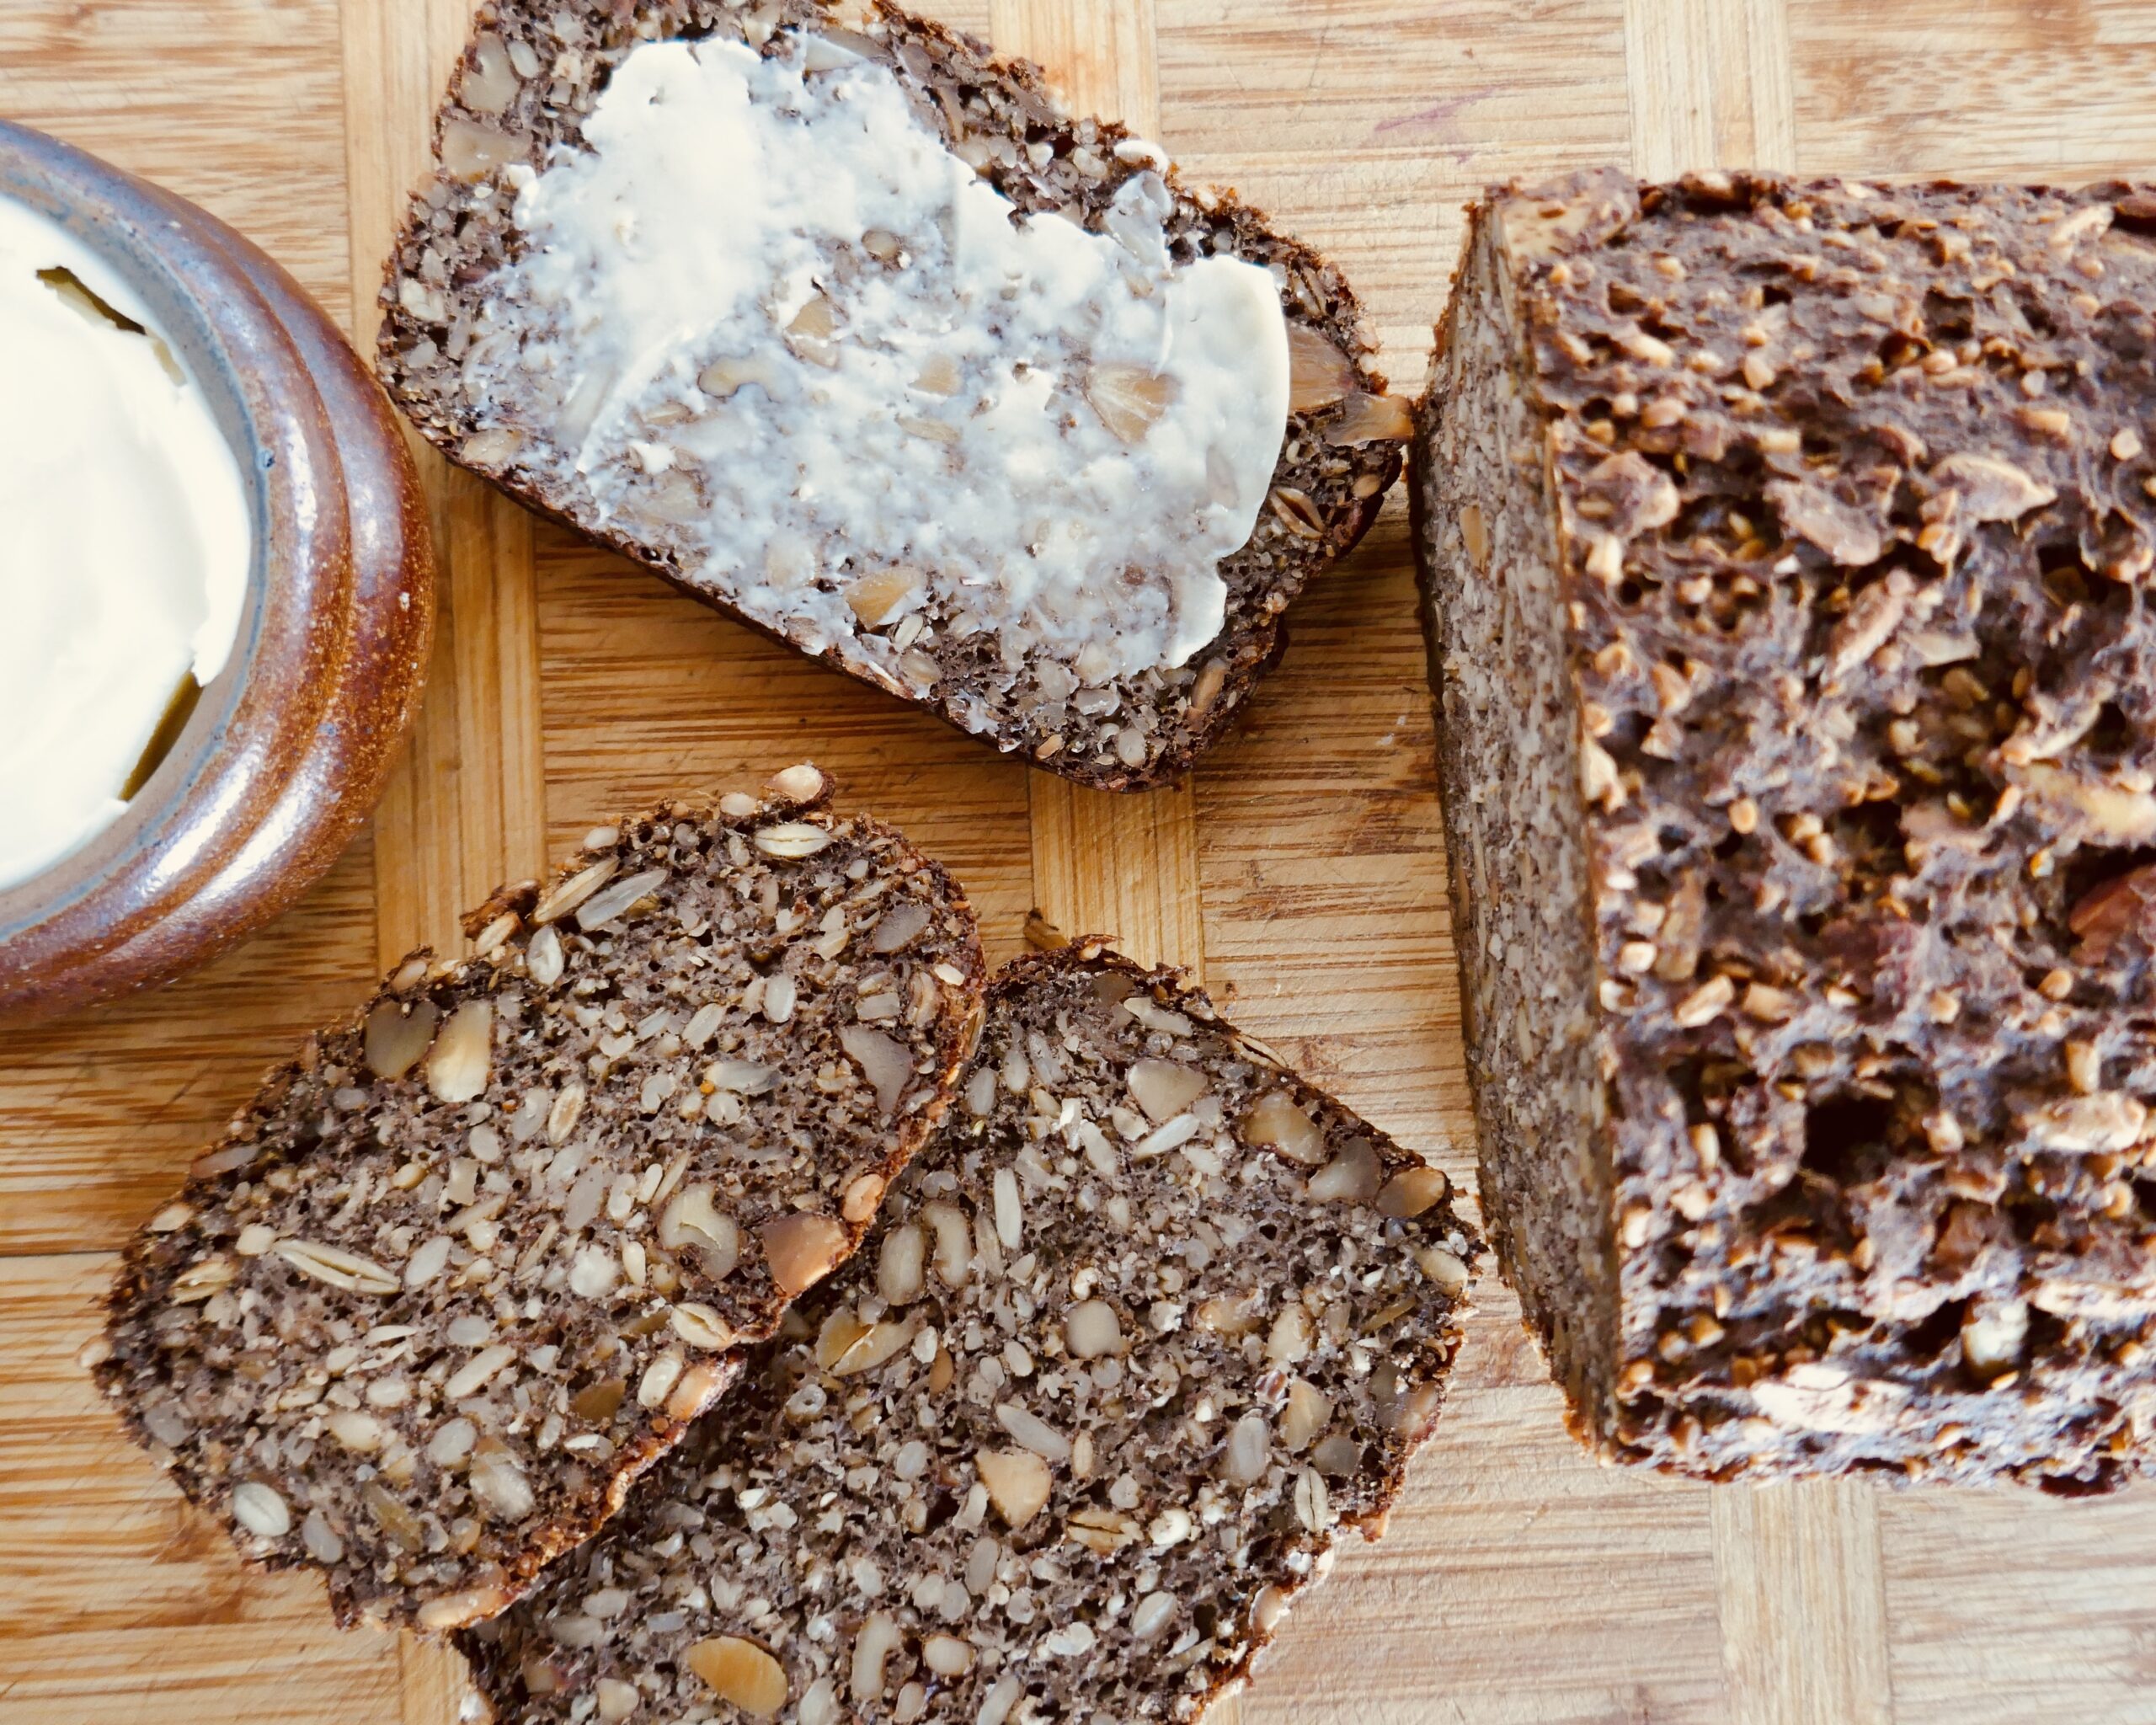
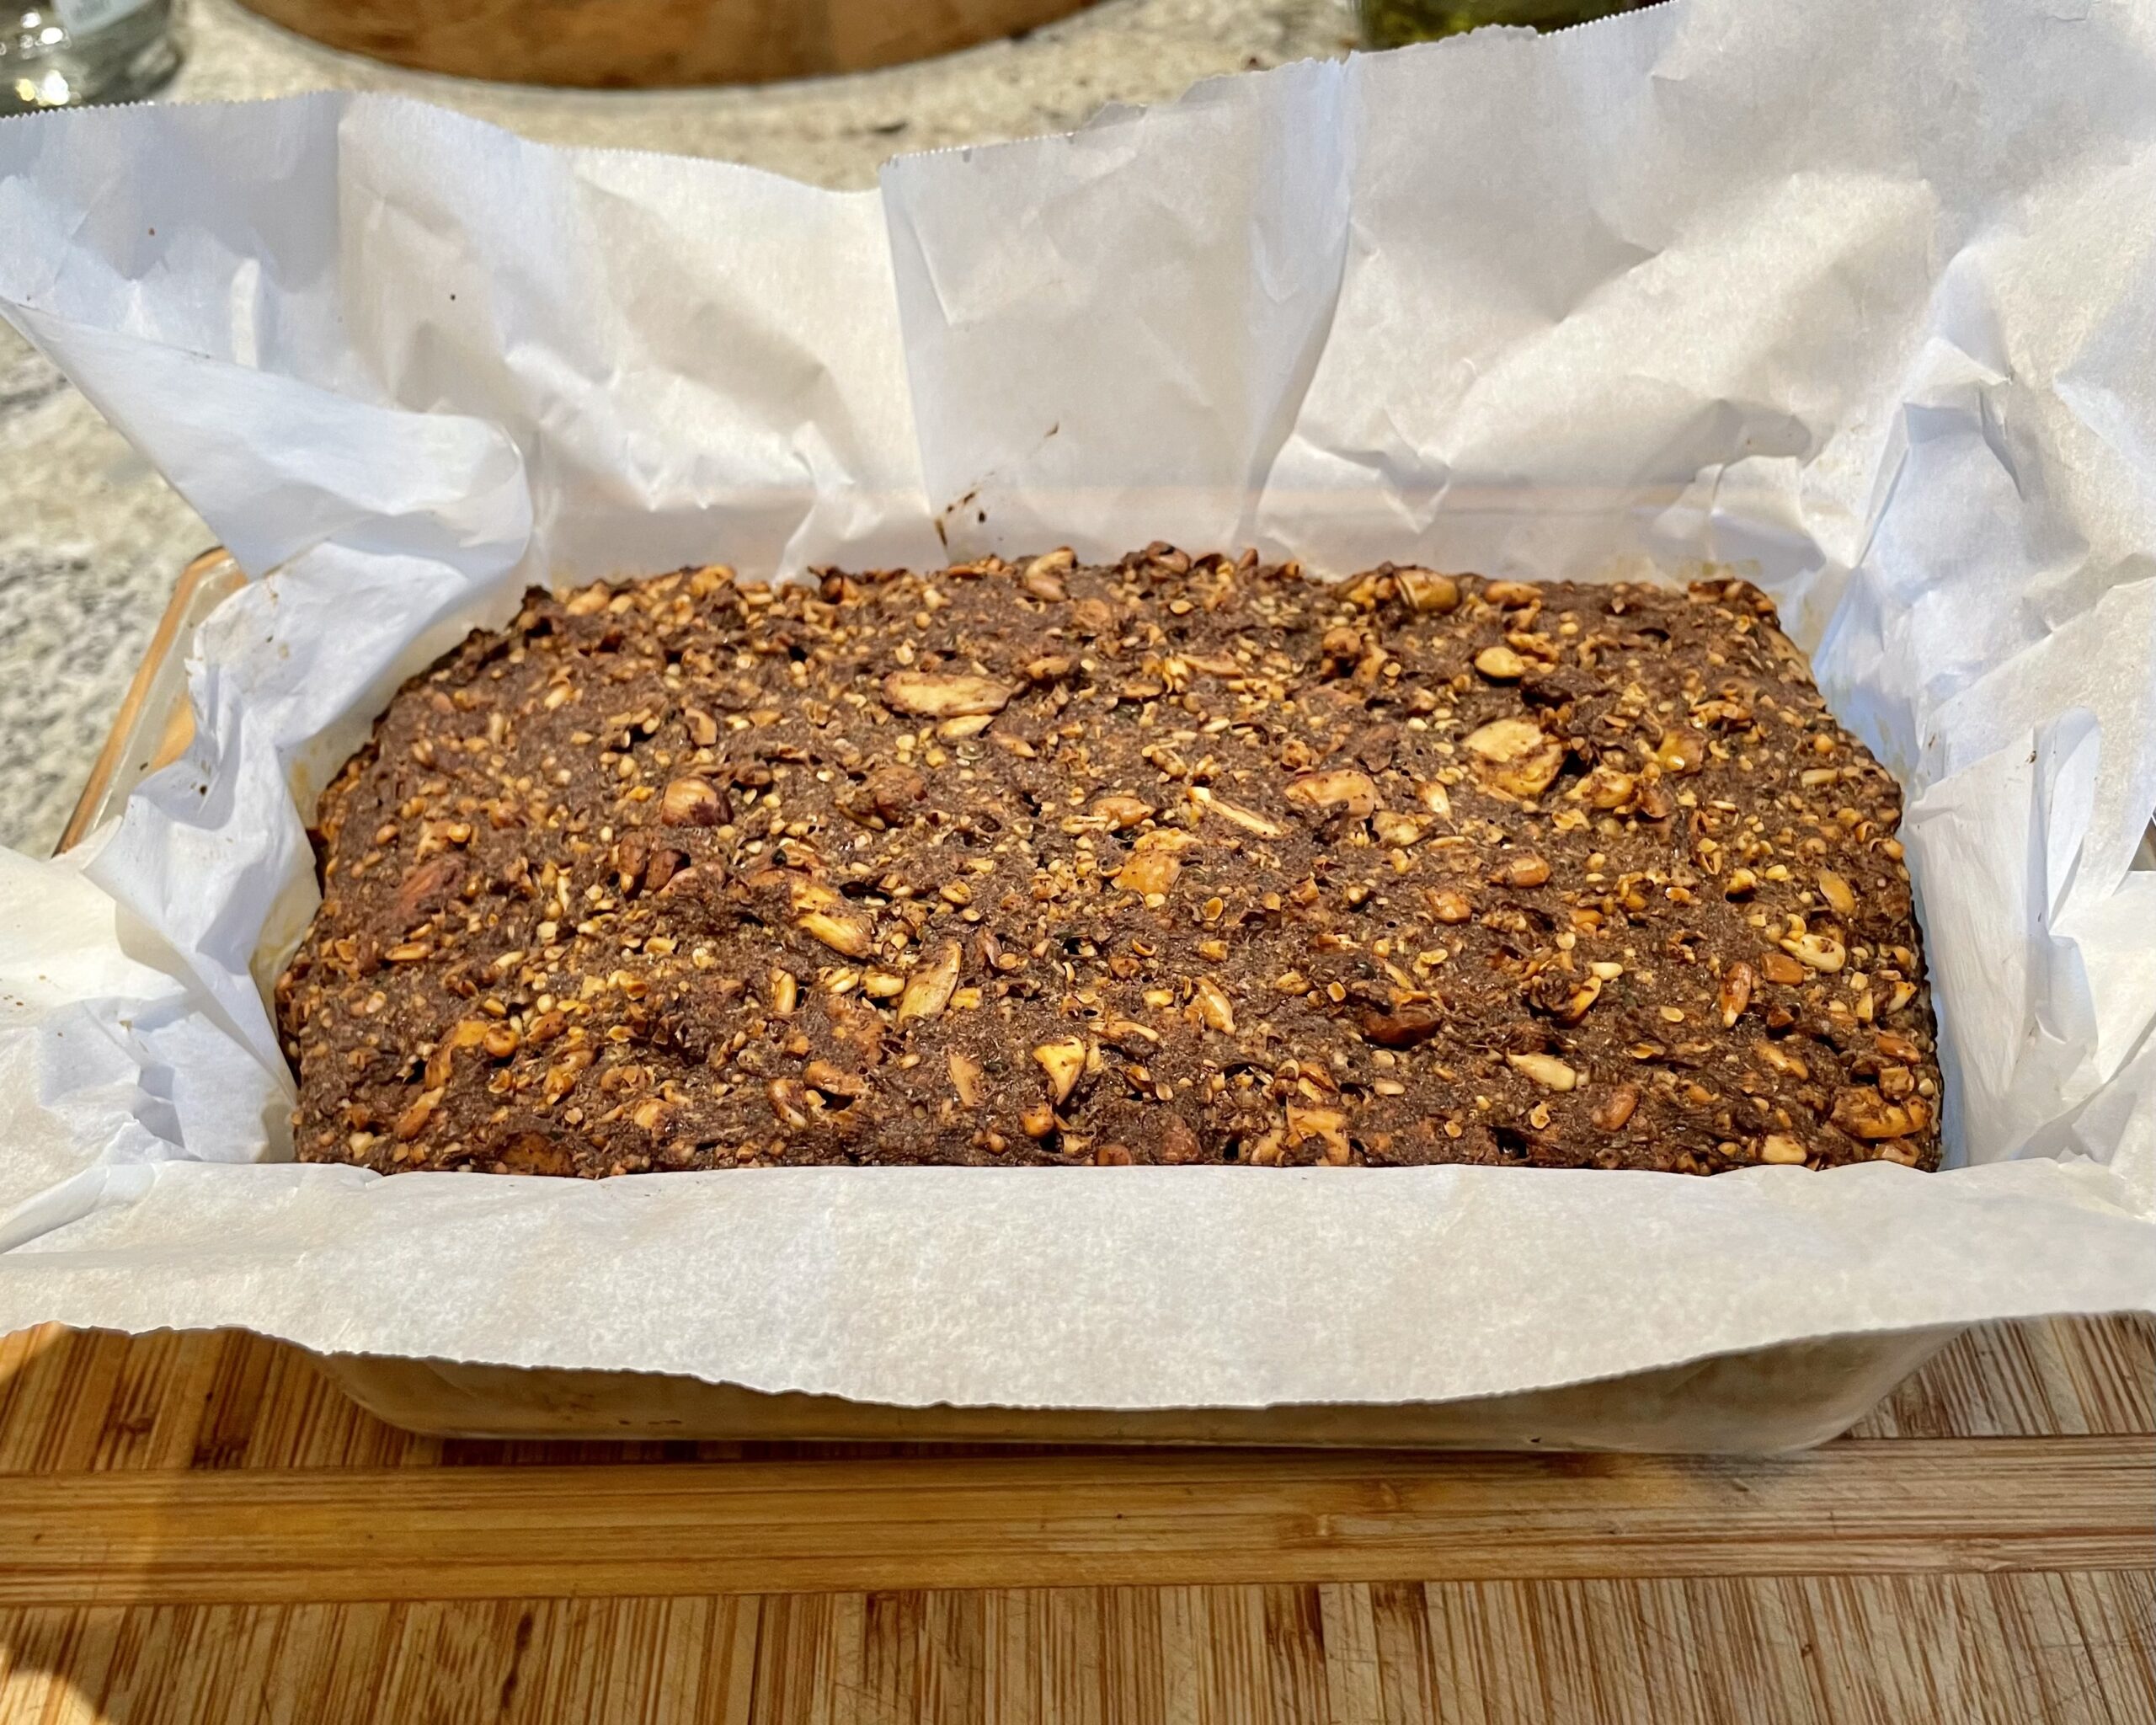
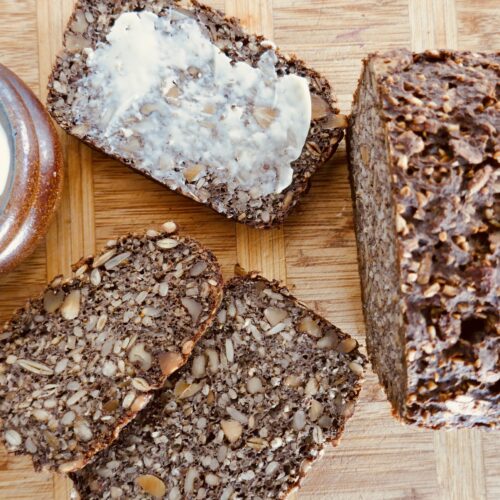
Good tasting, nutritious, gluten-free bread is so scarce, I spent many a day developing the recipe here. Nutrition would be especially important on this trip, and flavor and texture are always essential to pleasing food. This bread, I am proud to say, is loved by all who try it, whether they follow a gluten-free diet or not. It’s based on earthy buckwheat flour and hearty steel cut oats, it’s loaded with nuts and seeds, and flavored with tangy buttermilk and maple syrup. Flax seed, chia and hemp hearts round out the list of healthful ingredients. Like most gluten-free breads, toasting enhances the rich flavors.
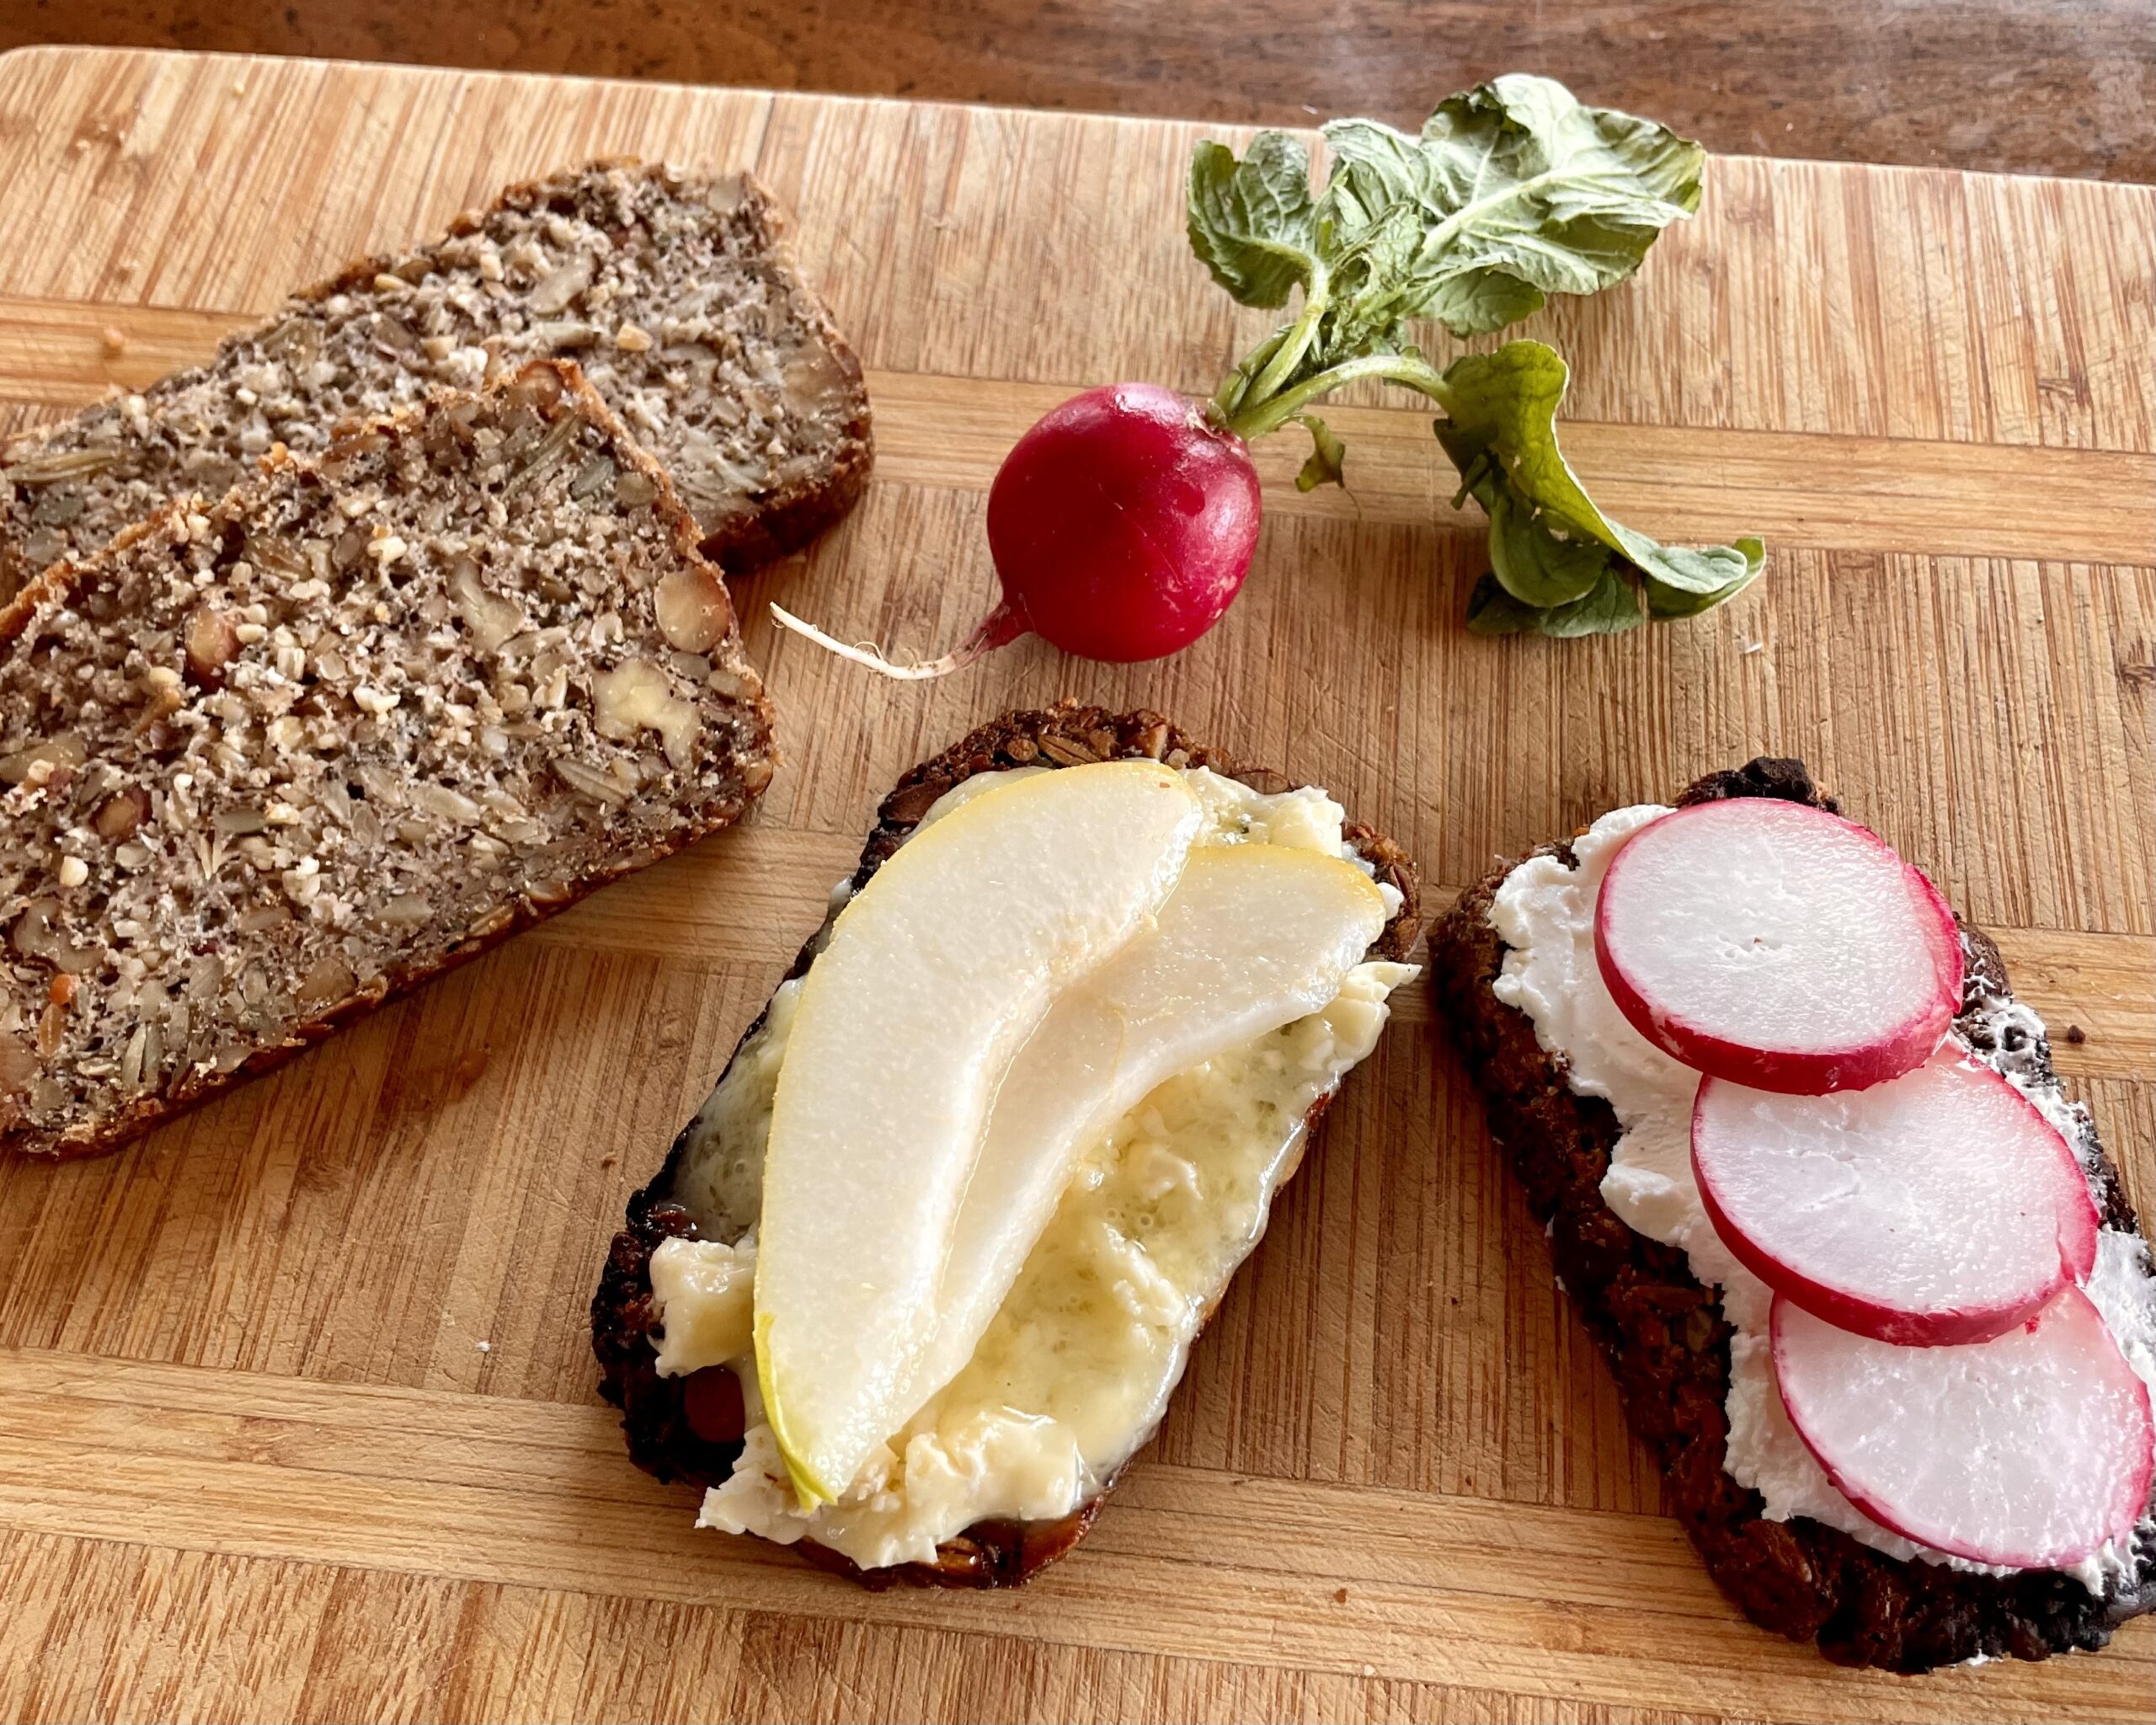
Although created for a hike to Half Dome, the bread has become a staple in our home, toasted for breakfast, with butter melting into its hot crusty surface, at lunch smeared with avocado, or anytime as an essential part of a cheese tray. For trail sandwiches, I toast bread slices, slather them with mayonnaise and Dijon mustard, then layer with either aged Manchego cheese or sharp cheddar cheese, and finally top each with several crisp romaine leaves. Because the bread is dense, I use romaine as the top layer in place of a second piece of toast.
I’ll report on how our adventure went in the next blog post, but in the meantime, I hope this bread will become beloved in your home too.
Super Gluten-Free Bread
Ingredients
- 1¼ cups milk of your choice (I use soy milk)
- 1 tablespoon cider vinegar
- ¾ cup gluten-free steel cut oats
- 1 cup buckwheat flour
- ½ cup hemp hearts
- ¼ cup flaxseed meal
- ¼ cup psyllium husk
- 2 tablespoons chia seds
- 2 teaspoons coarse kosher salt
- ½ cup roasted pumpkin seeds
- ½ cup sunflower seeds
- ½ cup roasted almonds, coarsely chopped
- ½ cup walnuts, coarsely chopped
- 1 cup hot water
- 3 tablespoons pure maple syrup
- 1 teaspoon instant or active dry yeast
- ¼ cup extra-virgin olive oil
Instructions
- Combine the milk and vinegar in a small bowl and stir to combine. Mix in the oats. Cover and refrigerate overnight.
- Remove the oats from the refrigerator. In a large bowl, combine the buckwheat flour, hemp hearts, flaxseed meal, psyllium, chia seeds and salt and stir to combine. Mix in the pumpkin seeds, sunflower seeds, almonds and walnuts.
- In a 2-cup glass measuring cup, combine 1 cup hot water and the maple syrup. Let cool (or heat in the microwave) to 100-110℉. Sprinkle the yeast over and mix in. Let stand until the mixture begins to foam and smells delightfully yeasty. Add to the dry ingredients. Add the oat mixture and olive oil and mix very well. The dough will seem thin at first, but will thicken as you stir it.
- Cover the bowl with plastic wrap and let the dough rise in a warm area until slightly puffy and feels less dense (it will not rise as high as other breads), 1¼-1½ hours.
- Line an 8x5" glass loaf pan with parchment paper. Stir the dough to deflate. Spoon into the loaf pan, smoothing the surface a little. Cover with plastic wrap and let rise in a warm area until puffy and slightly domed, 1-1¼ hours.
- Preheat the oven to 350℉. Remove the plastic wrap and bake the bread until it is dark brown, firm to the touch an an instant-read thermometer inserted into the center registers 190-200℉, about 1 hour 20 minutes.
- Transfer the pan to a rack and let the bread cool for 10 minutes. Turn the bread out onto the rack, remove the parchment and cool completely before slicing (unless, like me, you can't resist cutting off an end, spreading it with butter and tasting your creation warm). Let stand on the rack over night before wrapping airtight. Store in the refrigerator or up to 2 weeks, or slice and freeze.